
Last updated November 17, 2026
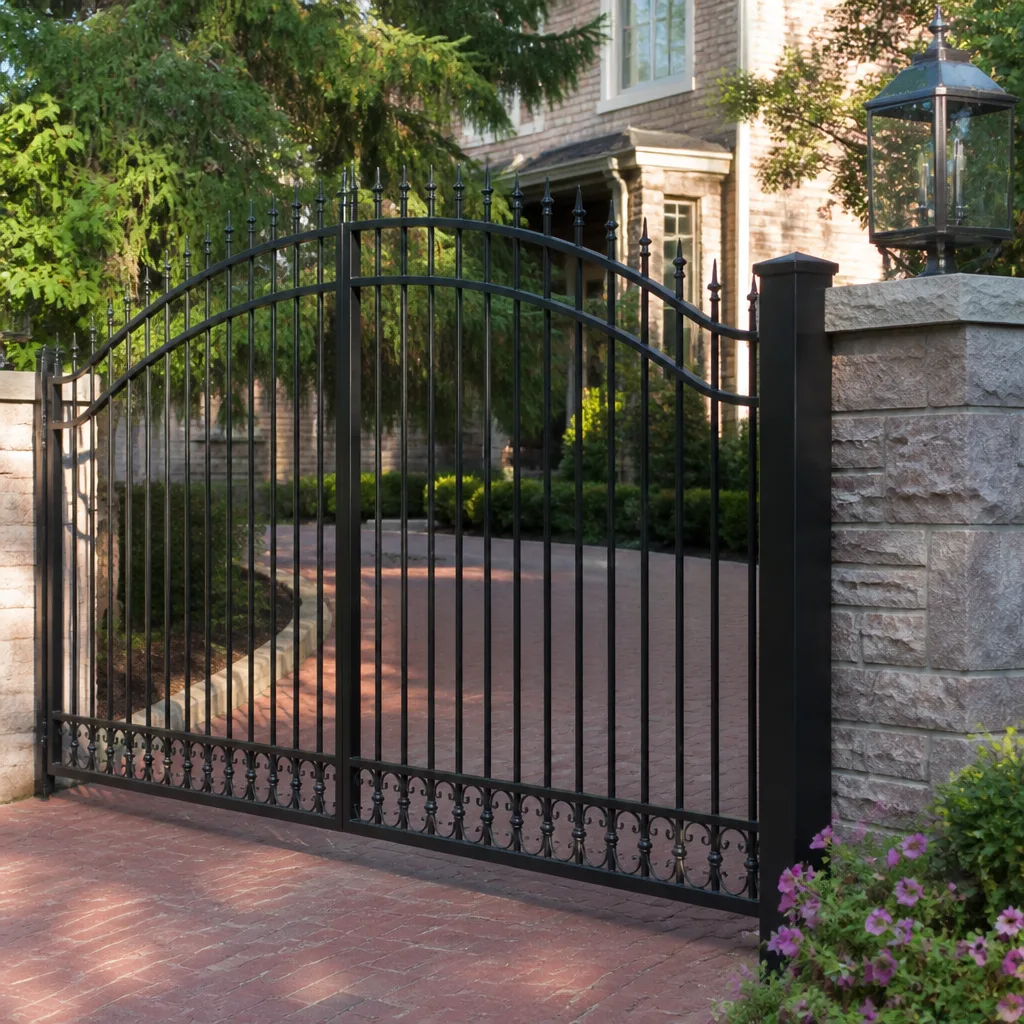 Wrought iron
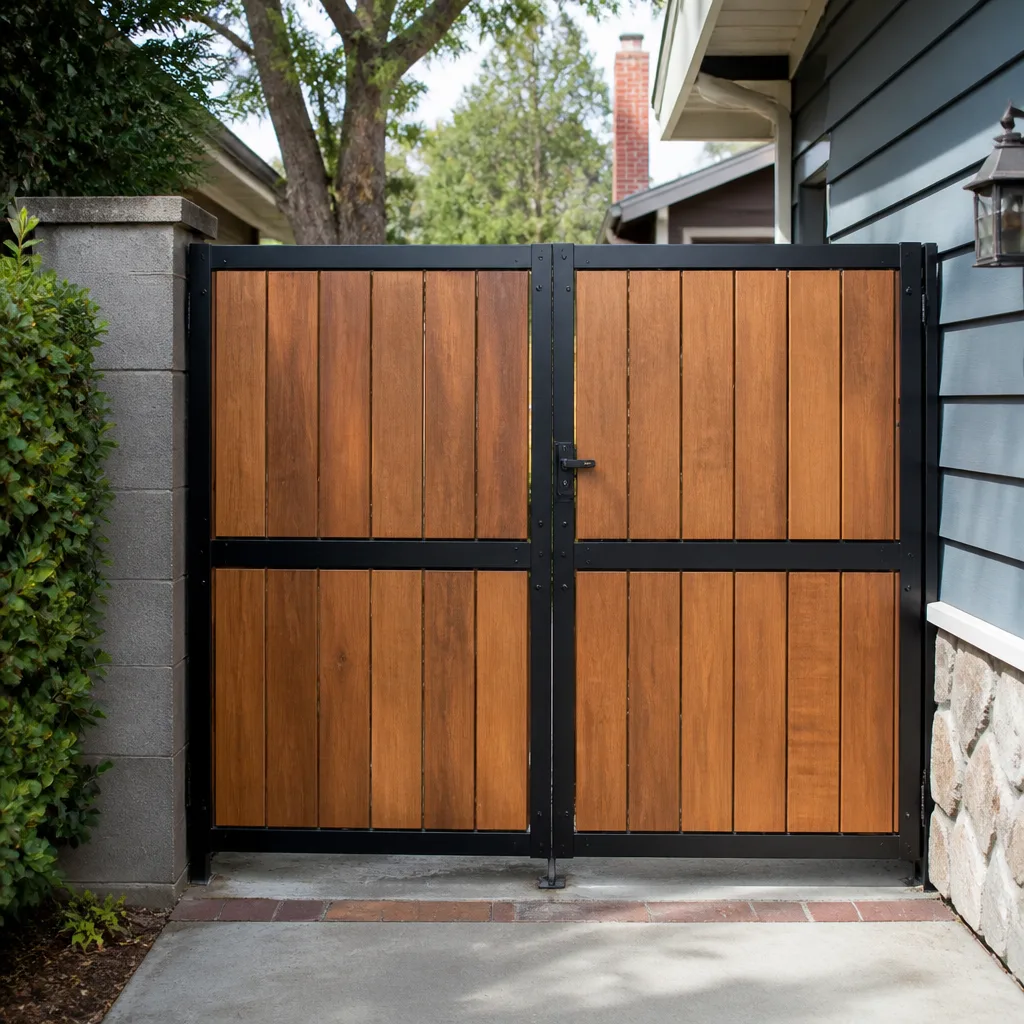 Wood & steel frame
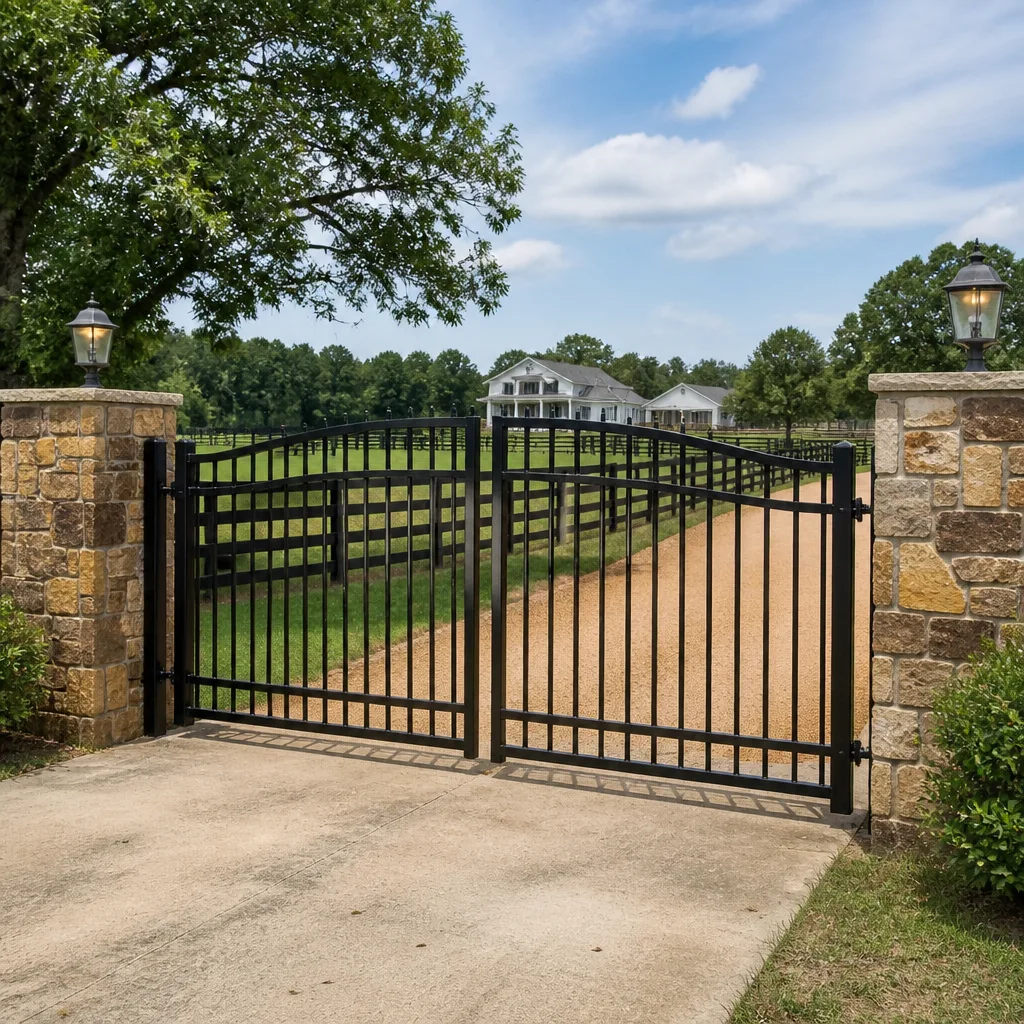 Farm & ranch
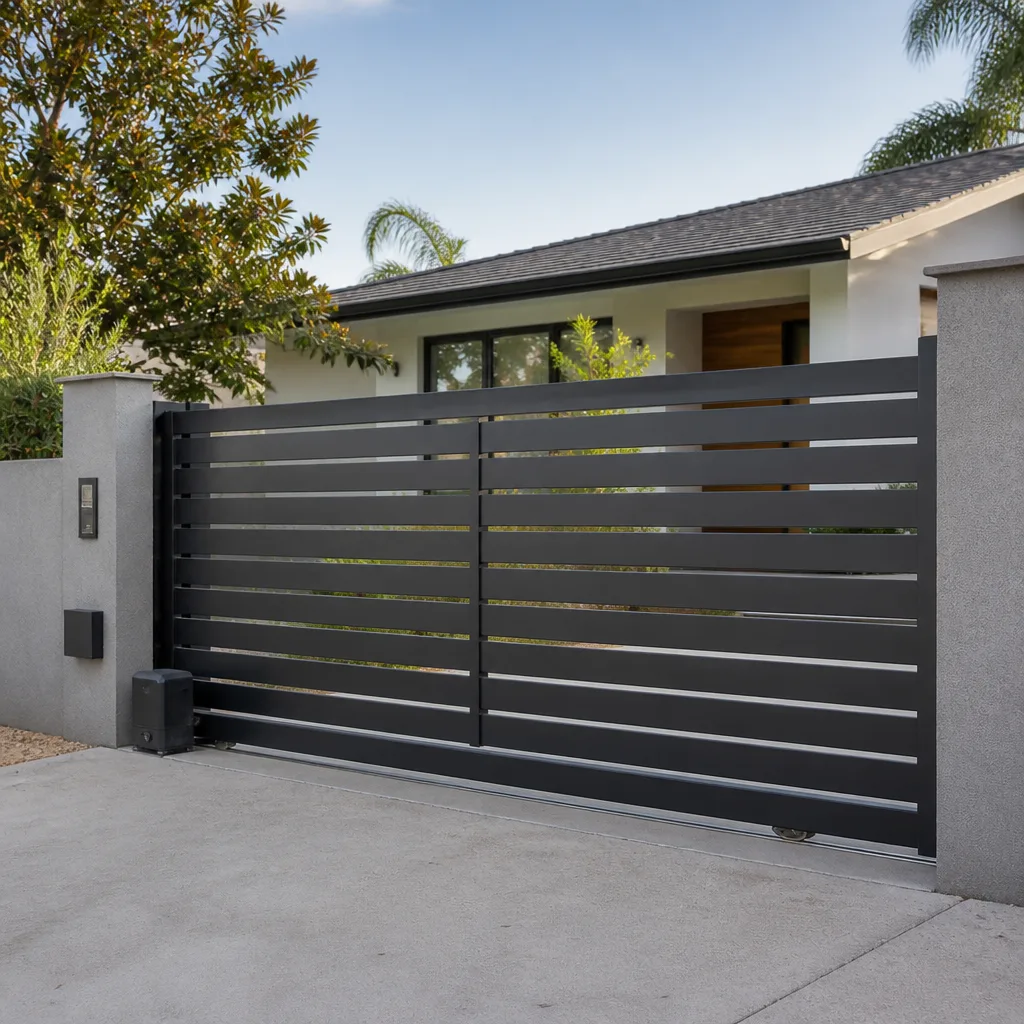 Sliding driveway gates
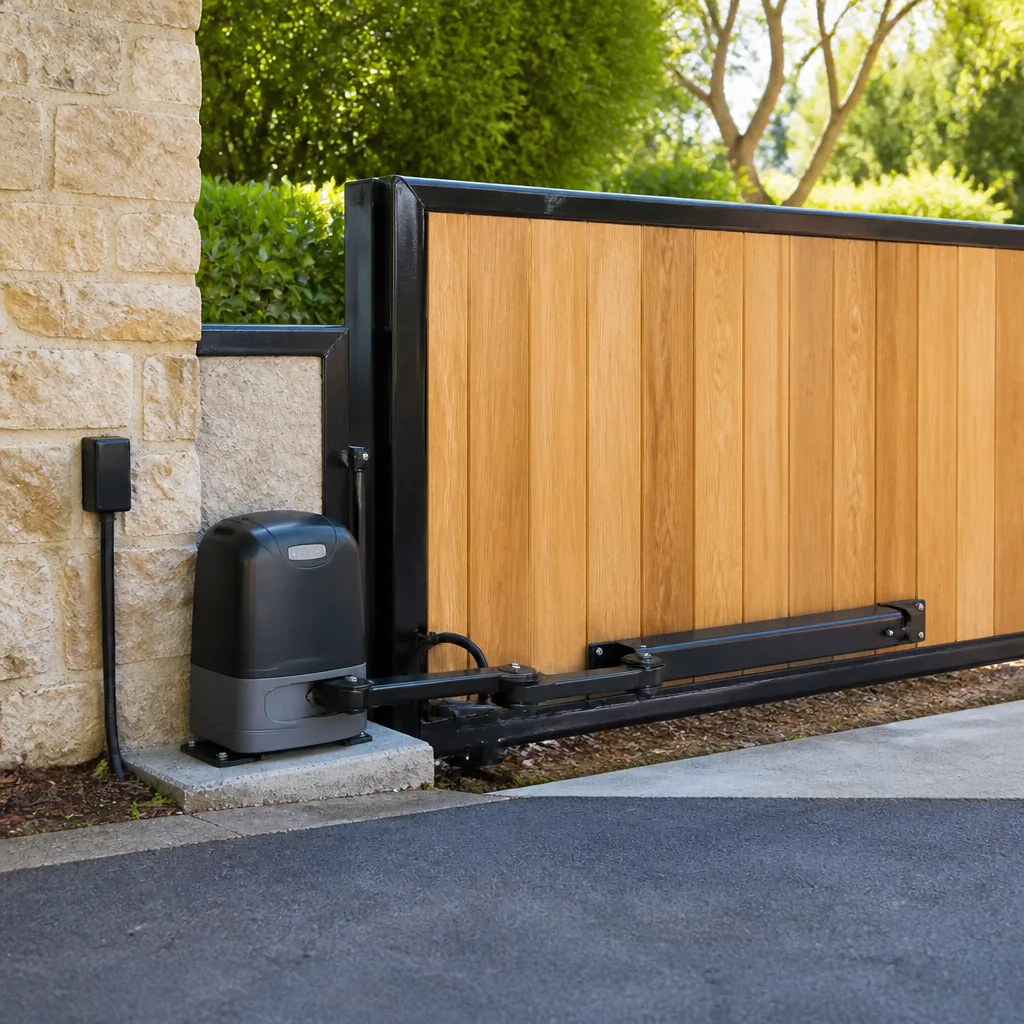 LiftMaster operators
Free on-site gate assessment - hinges, posts, and your LiftMaster or Nice gate operator checked before anything is quoted
The assessment is free and the quote is the invoice.
Get your free estimateGate Installation Maintenance Schedule: What to Do and When
A newly hung gate is not a finished product. It’s a machine in break-in. Between roughly 30 and 180 days after installation, hinges wear into their seats, welds finish curing, footings settle, and the opener learns the weight and swing of a gate it has never moved before. The checks you run in that window decide whether a good installation becomes a gate that lasts 25 years or one that starts dragging, sagging, and eating motors by year three. Most installers hand over the remote and drive off without mentioning any of it. In Summerlin, where sun and dry air work on metal all year, those first months matter more than homeowners expect. This guide gives you the full schedule, by gate type and by age.
Quick Answer
A new gate needs a break-in inspection at 30 days, a second at 90 days, and a third at 180 days, then twice-yearly service after that. The 30-day visit is the one that counts most: tighten all hardware, re-lubricate hinges and the operator arm, re-test limit switches, and check footing and post for movement. From there, iron swing gates need weld and hinge checks every six months, aluminum slide gates need track and roller service, and wood-frame panel gates need the most frequent attention of all. Log what you find at each visit so every future inspection has a baseline to compare against.
Styles & brands we work with
- Wrought iron
- Wood & steel frame
- Farm & ranch
- Sliding driveway gates
- LiftMaster operators
Table of Contents
- Why the First 180 Days Decide the Gate’s Future
- The 30-Day Post-Installation Check: What to Do
- How a New Gate’s Schedule Differs From a 5-Year-Old Gate’s
- Building Your Baseline Maintenance Record From Day One
- The Handoff Checklist Every Installer Should Provide
- Long-Term Schedules by Gate Type
- Seasonal Timing in the Summerlin Climate
- Common Mistakes to Avoid
- When to Call a Professional
Why the First 180 Days Decide the Gate’s Future
A gate is a heavy slab of metal hanging off a couple of hinges, driven by a motor. When it’s brand new, every one of those parts is still finding its place. Hinge pins seat deeper into their bushings after a few hundred open-and-close cycles. A welded frame that was finished in a shop goes through its first real temperature swings outdoors. Concrete footings, even properly cured ones, can shift a hair as the surrounding soil settles. None of that is a defect. It’s normal break-in, and it’s exactly why the industry-standard service interval is twice a year rather than once.
What most installers skip is telling the homeowner that this settling phase needs eyes on it. A gate that’s 1/8 of an inch out of alignment at day one might be 3/8 of an inch out by day 120, and by then the opener’s safety reverse has been working harder than it should. We see this repeatedly in Summerlin, where new-build communities mean a steady stream of gates going in on recently graded lots. The soil around a new footing hasn’t fully compacted, and the gate tells you about it within a few months.
The 30-90-180 break-in schedule exists to catch those small shifts before they turn into a bent operator arm, a stripped gear, or a hinge that’s ground its way through a bushing. Three short visits in the first six months cost far less than one repair to the automation later. If the gate is motorized, the installer should also walk you through how the opener stores its limits, because those limits will need a re-check once the gate has settled. Automations from FAAC and BFT, for example, hold their positions well, but the arm itself still needs re-verification after break-in. That’s the kind of detail an Ironworks Gate Co. Summerlin home homeowner gets walked through at handoff.
The 30-Day Post-Installation Check: What to Do
The 30-day check is the most important maintenance visit your gate will ever get. Here’s the exact sequence we run, and the one you can use to know what a proper inspection looks like:
- Walk the full swing or slide path. Open and close the gate by hand (disconnect the operator first if it’s motorized) and listen. Any grinding, clicking, or binding is a finding, not a quirk.
- Tighten every fastener. Hinge bolts, post brackets, frame bolts, operator mounting bolts. Break-in vibration loosens them, and a loose hinge bolt is how a gate starts to sag.
- Re-lubricate hinges, rollers, and the operator arm. Use the manufacturer’s specified lubricant. Grease that’s wrong for the hardware attracts grit in Summerlin’s dusty air and does more harm than good.
- Re-test the limit switches. On a motorized gate, run the gate to full open and full close three times and confirm it stops in the correct position every time. If it creeps or stops short, the limits need resetting.
- Check the footing and posts for movement. Look for new hairline cracks at the base, any tilt, or soil pulling away from the concrete. Mark existing cracks with a pencil line so you can tell later whether they’ve grown.
- Test the safety reverse and photo-eye. Put an object in the path and confirm the gate reverses. On a new installation this should be checked monthly for the first six months.
- Check the welds. Inspect every weld joint for cracks or discoloration. This is a visual check; a trained eye catches stress early that a homeowner would miss.
- Log everything. Write down the date, what was tightened, what was lubricated, and any measurements (gate gap, post plumb, ground clearance). That log becomes your baseline.
If that list is more than you want to take on, that’s what the $89 Seasonal Tune-Up is for. But whether you do it or we do, the point is that it gets done at 30 days, not at the first sign of trouble.
How a New Gate’s Schedule Differs From a 5-Year-Old Gate’s
A brand-new gate and a 5-year-old gate need different things, and most maintenance advice lumps them together. They shouldn’t be. The differences are specific:
- Weld inspection intervals: In the first two years, welds should be inspected every six months. After that, annual visual inspection is enough unless the gate shows stress. New welds on a freshly powder-coated or painted frame are still settling thermally through their first two winter-summer cycles.
- Footing crack monitoring: First two years, check at every visit and log the measurement. A footing hairline crack that stays put is normal. One that grows between visits means the soil is moving and the post needs attention. After two years, the footing has proven itself and the check drops to annual.
- Cycle counts: New openers should have their cycle count reviewed at 30, 90, and 180 days. A gate that’s heavier than expected will show up in the cycle data before it shows up as a motor failure.
- Fastener torque: New hardware loosens. Everything gets re-torqued at 30 and 90 days; after the first year, fasteners are checked at standard service only.
- Paint and finish: A new finish cures over its first year. Touch up any chip immediately in the first 12 months, because bare metal in Summerlin’s sun and occasional monsoon moisture will start to oxidize fast.
By year five, the gate is in a steady state. Weld checks go annual, footing checks go annual, and the main recurring work is lubrication, track and roller service, and the opener’s internal maintenance. That’s the schedule you’re building toward in year one. Get through the break-in and the gate settles into a rhythm that takes an hour twice a year to maintain. Skip it, and the gate never settles; it just accumulates problems.
Building Your Baseline Maintenance Record From Day One
The single most useful thing you can do at installation is record measurements. Every future inspection compares against that baseline. Without it, a technician is guessing whether a gap is normal or new. Here’s what we log at handoff on every gate we install in Summerlin:
- Gate ground clearance at three points: hinge side, middle, latch side. Record in sixteenths of an inch.
- Post plumb using a level, both directions, with the reading written down.
- Hinge wear measurement at each hinge (visual gap or feeler gauge).
- Operator model, serial number, and current limit settings (if motorized).
- Cycle count at delivery, typically zero.
- Photo set of all welds, the footing base, and the finish, dated.
- Paint and finish batch if available, for future touch-ups.
- Service interval reminder on the calendar: 30, 90, 180 days, then every six months.
This takes 20 minutes and it pays for itself the first time something looks off. If you already have a gate and never got this baseline, a free second opinion on any written estimate is a good time to start one: hand us the gate and we’ll document the current state. That record then travels with the gate. When you sell the house, it’s a nice piece of proof that the gate has been cared for. When you call for Gate Repair in Summerlin, the technician opens the file and knows the gate before they see it.
The Handoff Checklist Every Installer Should Provide
When a gate installation is done, the installer should hand you a folder, physical or digital, containing everything you need to own the gate for the next 20 years. If you didn’t get one, ask for it before you sign off. Here’s the checklist:
- Remote programming codes and instructions. How to add or remove a remote, how to program a keypad, and how to reset if you lose one. Don’t let this stay only in the installer’s memory.
- Operator model and serial numbers. Written down, not just stamped on a plate you’ll never read again. Needed for any warranty claim.
- Parts model numbers. Hinges, rollers, operator arm, safety edges, keypad. When a $12 roller fails in year seven, you want the exact replacement number.
- Warranty documentation. The gate fabricator’s warranty, the operator manufacturer’s warranty, and the installer’s own written guarantee. Here that’s the 90-Day Done Right Promise, in writing, on every job.
- Recommended service intervals. The specific schedule for your gate type, written, with the break-in dates marked.
- Lubricant specification. The exact product the operator and hinges call for. This prevents the wrong grease from being used later.
- Emergency manual release procedure. How to open the gate by hand in a power outage. Every homeowner should know this and should have practiced it once.
- Contact info for service. One number that reaches a live person, not a call center.
If your installer can’t provide this, that’s a signal about the kind of service you’ll get going forward. On a Gate Installation in Summerlin, we hand over all of it as part of the job, complete. The folder becomes the gate’s history.
Long-Term Schedules by Gate Type
Gate type changes the schedule more than age does. Here’s how the three main categories differ:
Iron Swing Gates
Iron holds up in Summerlin’s heat better than almost anything, but hinge wear and weld stress are the recurring issues. Schedule: break-in checks at 30, 90, and 180 days; then twice-yearly service covering hinge lubrication, fastener torque check, and a visual weld pass. Weld inspection goes to annual after year two unless the gate shows stress. Paint touch-up is a seasonal task, especially after monsoon season. A properly maintained iron swing gate closes exactly the way it did the day it was hung, decade after decade.
Aluminum Slide Gates
Aluminum is lighter and doesn’t rust, but the track, rollers, and the operator’s drive mechanism need regular attention because sliding gates move a large weight along a narrow path. Schedule: break-in at 30, 90, and 180 days with track and roller inspection each time; then every six months for track cleaning, roller replacement checks, and operator lubrication. The track itself needs a sweep-clean after any major wind event, which in Summerlin means dust storms. A track that fills with grit will wear out rollers fast. On the automation side, we’re trained on FAAC, BFT, Linear, and Viking, and each one has slightly different roller and drive maintenance; the schedule depends on the specific operator, not just the gate.
Wood-Frame Panel Gates
Wood moves. It swells and shrinks through the seasons, and in Summerlin’s dry climate it does more shrinking than swelling. Schedule: break-in checks at 30, 90, and 180 days, then quarterly service for the first two years as the wood finishes moving; after that, twice yearly. Every service includes checking joints for separation, sealing or re-staining as needed, and adjusting hardware to account for wood movement. Wood-frame gates need the most frequent attention of the three types, but with consistent sealing they hold up well. A gate motor needs to be sized correctly for a heavier wood panel, so Gate Motor & Opener in Summerlin or any automation work should start with the weight of the gate in mind.
Seasonal Timing in the Summerlin Climate
Summerlin’s climate should shape when you schedule maintenance, not just how often. Two seasons matter. The hot dry summer (roughly May through September) stresses metal and wood: iron expands, wood shrinks, and lubrication evaporates faster than in cooler climates. The monsoon window (July through September) brings sudden rain and wind that can strip thin finish and push dust into tracks. The practical schedule:
- Spring (March-April): the big tune-up before the heat. Check finish, grease everything, test the opener’s thermal behavior.
- Post-monsoon (October): the second tune-up. Inspect for water damage, clean the track, touch up any chips, verify the safety reverse.
- Mid-summer (July): a quick visual check if your gate is iron or wood, since the heat peak is when finish issues appear.
That’s why the standing $89 Seasonal Tune-Up pairs naturally with a spring or fall slot. Two visits a year, timed to the seasons, cover almost everything a mature gate needs.
Common Mistakes to Avoid
- Skipping the 30-day check entirely. This is the single biggest mistake we see in Summerlin. By the time the owner notices a problem, the break-in window is long past and the initial settling work has become a repair.
- Using the wrong lubricant on hinges and operator arm. WD-40 is not hinge grease. The wrong product attracts grit in Summerlin’s dusty air and accelerates wear.
- Ignoring footing cracks until they spread. A stable hairline crack is normal. One that grows between visits means soil movement that a timely repair could have stopped. Log it and re-check at the next visit.
- Never practicing the manual release. In a power outage, a homeowner who’s never used the manual release finds out about it at the worst possible moment. Learn it once and again every year.
- Losing the remote programming and parts model numbers. When a keypad fails at year five, that documentation is the difference between a 20-minute fix and an expensive replacement.
- Overlooking the safety reverse on a new installation. The safety reverse must be tested monthly for the first six months. It’s a safety device, not a convenience feature.
- Skipping maintenance because “it looks fine.” A gate that looks fine can still have a hinge 1/16 of an inch out of true and a limit switch drifting. The whole point of scheduled visits is to catch what looking doesn’t.
We’ve seen every one of these in the field, and each one is preventable with the schedule in this guide.
When to Call a Professional
Some of this you can do. Some you absolutely should not. Call a professional when a motorized gate stops reversing, when the operator repeats fault codes after a reset, when a footing has visibly moved or cracked in a way that concerns you, when a weld shows a crack, or when a hinge has worn enough that the gate sags on one side. High-tension springs, operator arms under load, and any electrical component of the automation are not homeowner territory. If your gate is motorized, the annual electrical safety check is a professional task. Ironworks Gate Co. Summerlin offers free estimates in Summerlin, and our technicians are trained on the automation brands most common on driveways here, including FAAC, BFT, Linear, and Viking. Call (866) 623-9848. A live person answers, day or night.
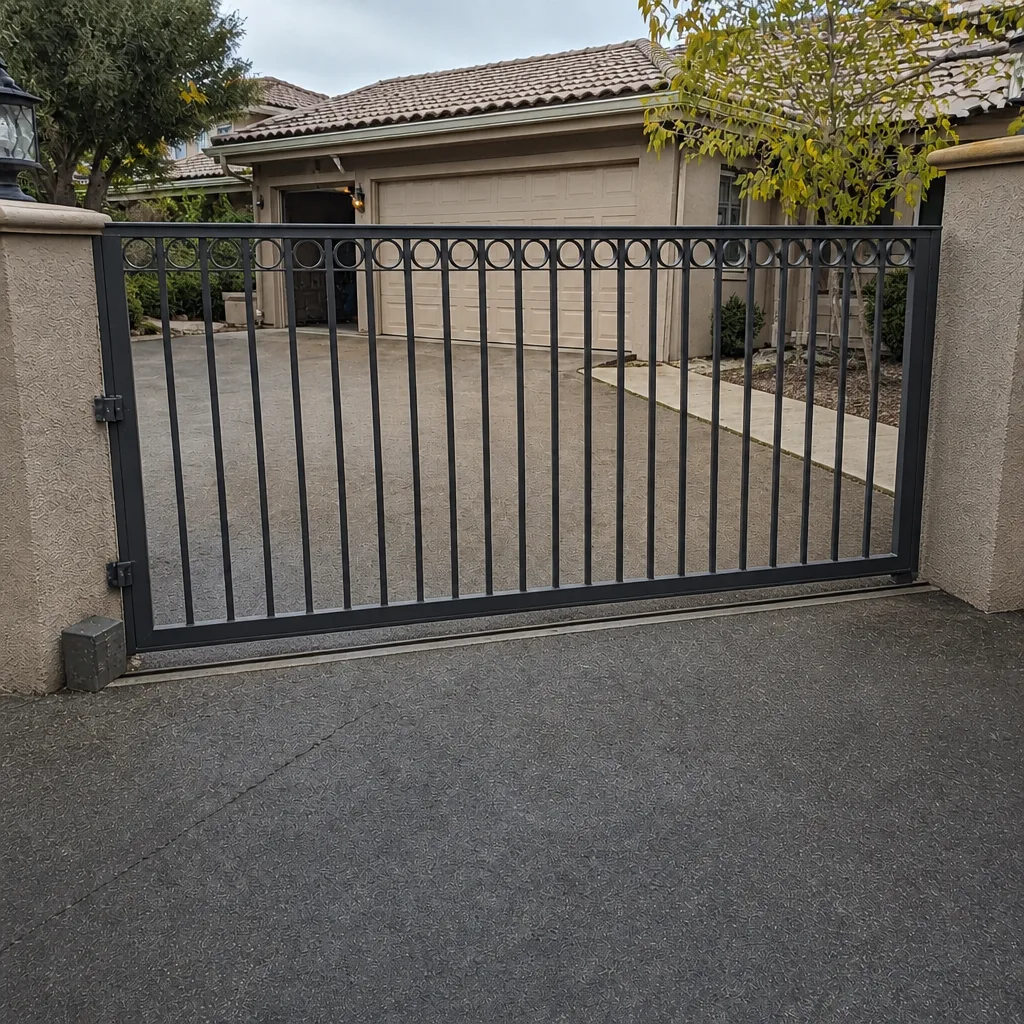
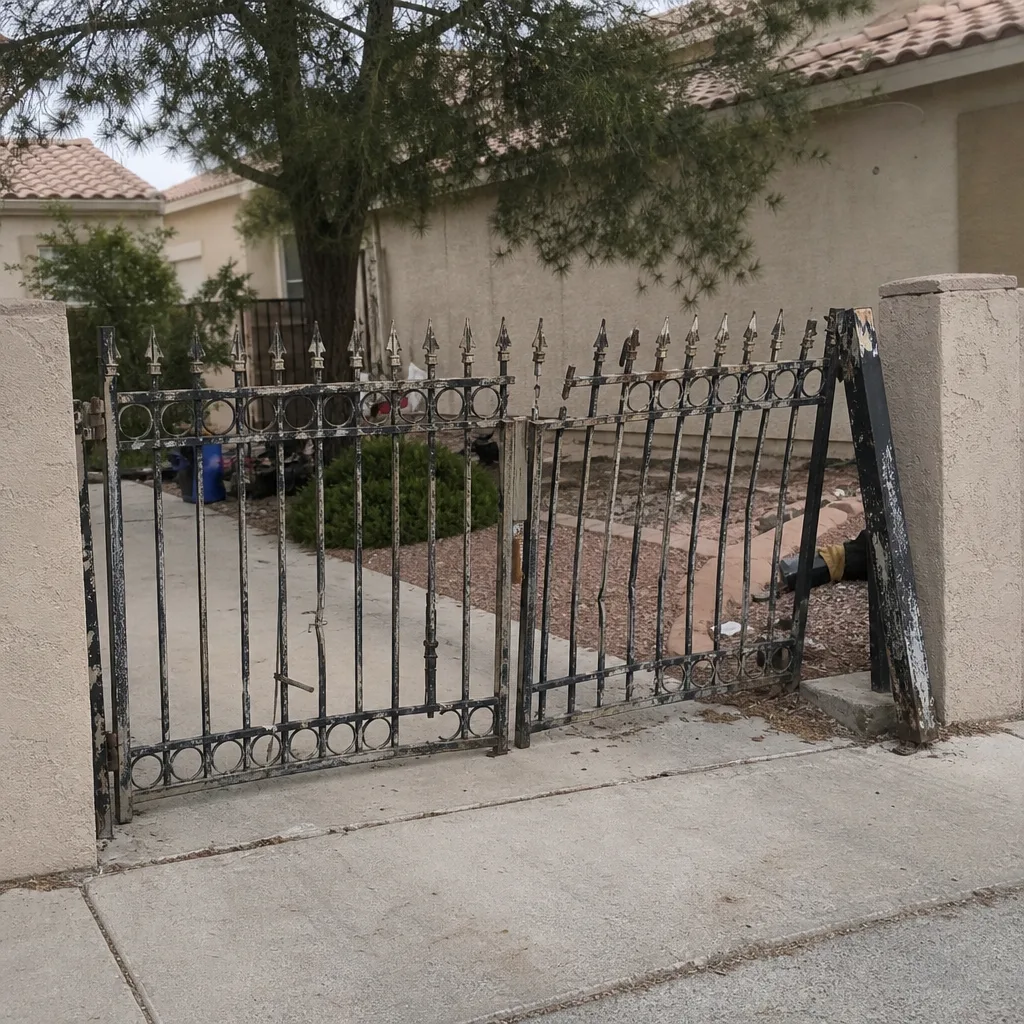
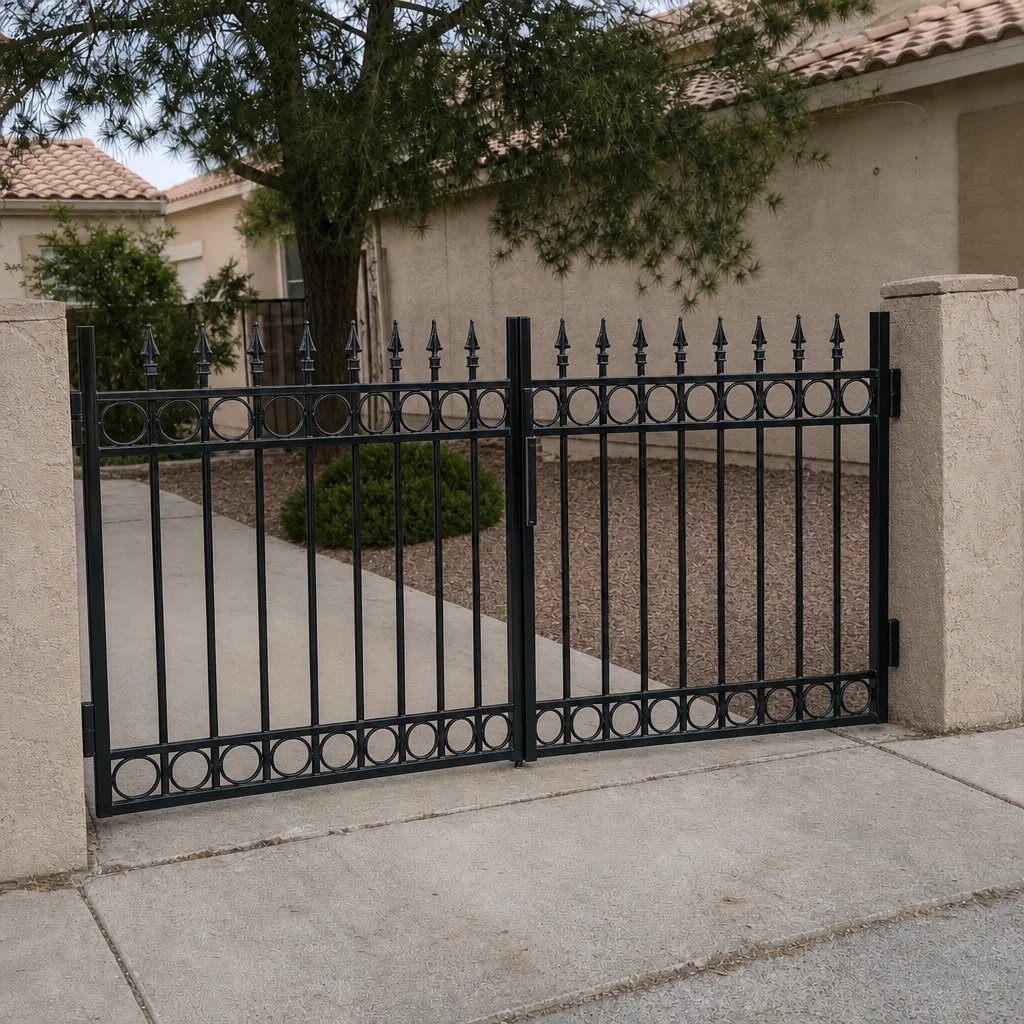
See the difference
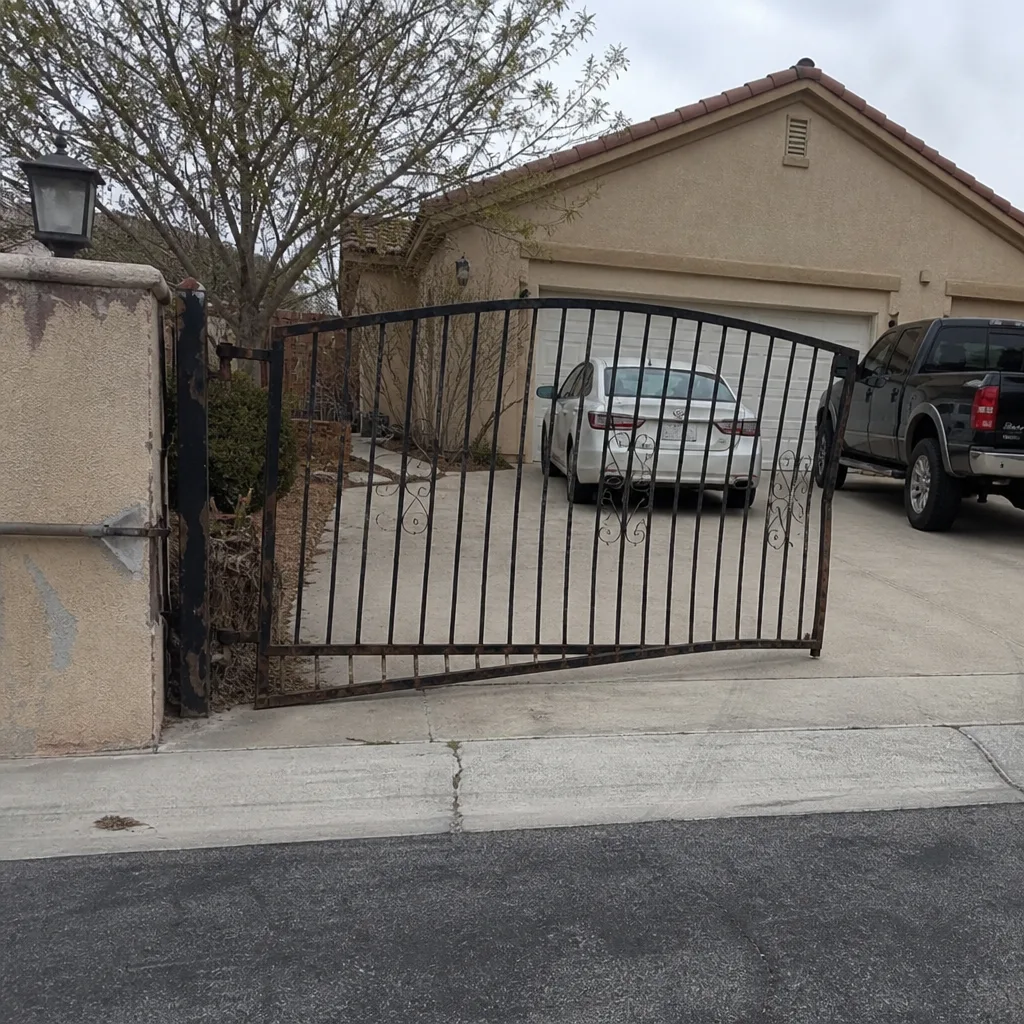 Before
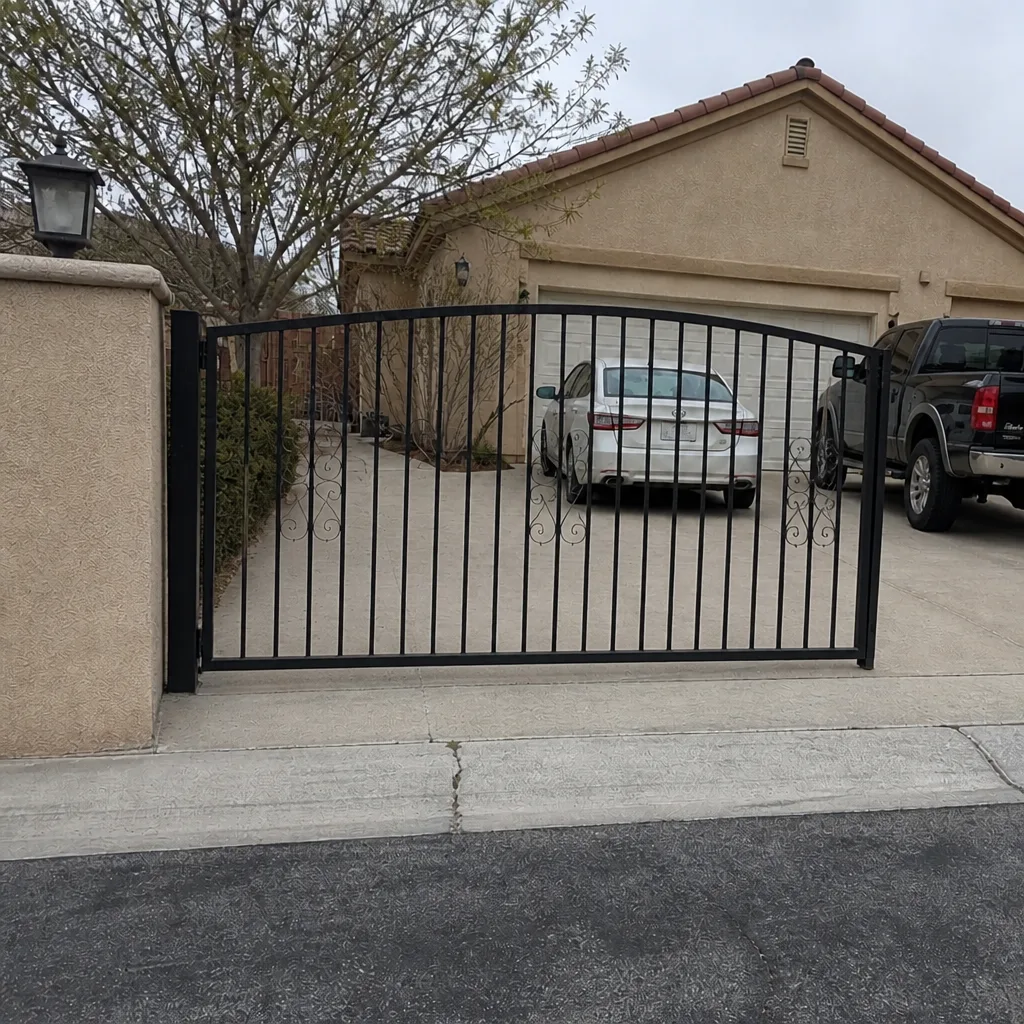 After
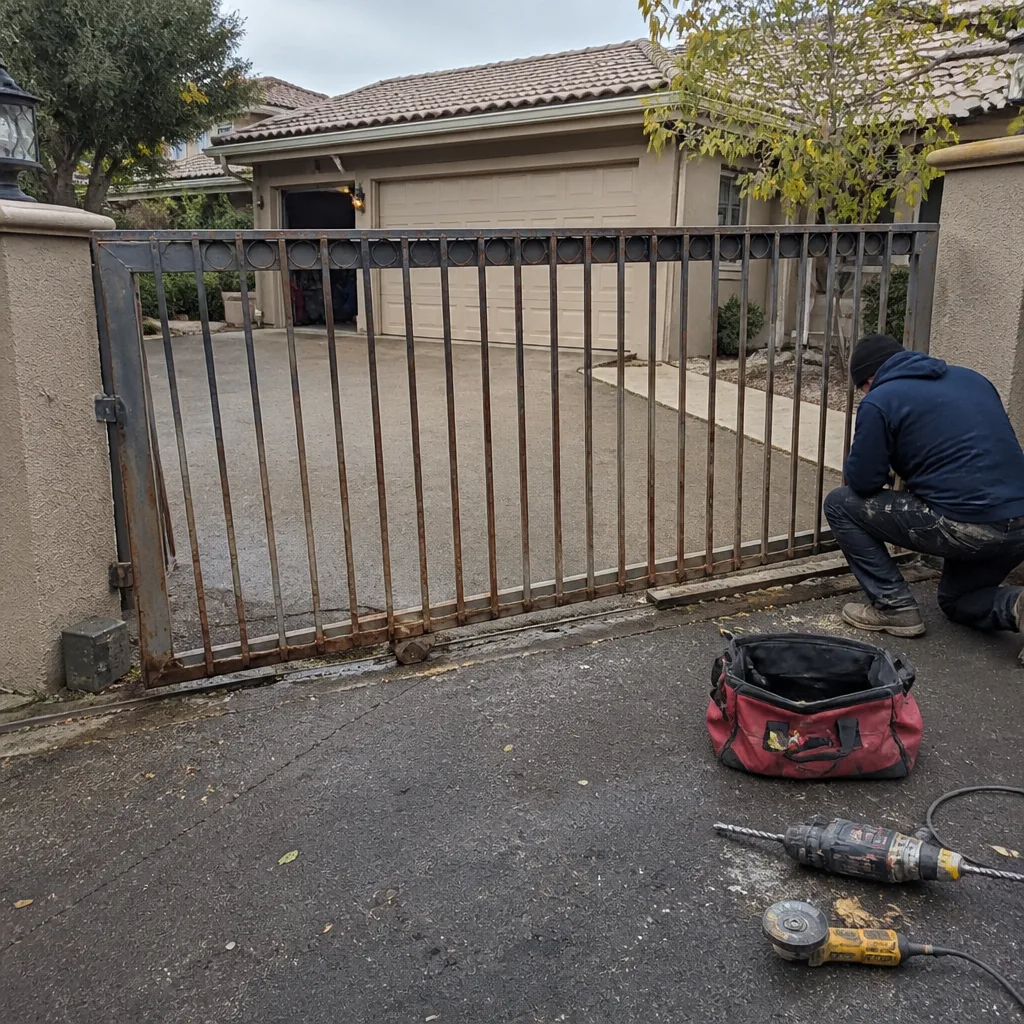 Before
 After
 Before
 After
Frequently Asked Questions
A new gate should be inspected at 30 days, 90 days, and 180 days after installation, then twice yearly after that. The three break-in visits catch settling, loose fasteners, and drifting limit switches while the fixes are still small.
A break-in check focuses on settling: tightening hardware, re-lubricating, re-testing limit switches, and logging baseline measurements. A regular tune-up on a mature gate focuses on wear and seasonal prep. The break-in checks are more frequent and more detailed for the first six months. Call (866) 623-9848 to schedule either one.
You can handle the visual and lubrication parts: walk the gate, tighten visible fasteners, re-grease hinges, and check the safety reverse. Limit switch re-testing and weld inspection call for a trained eye. If any of it is uncertain, a free estimate visit is the safe option. Call (866) 623-9848.
Wood moves with the seasons, while iron stays put. Seasonal wood movement loosens joints, shifts hardware, and opens finish, so wood gates need quarterly service for the first two years and twice yearly after that.
A small hairline crack in the footing is normal settling. Mark it, photograph it, and re-check at your next service. If the crack grows between visits or the post tilts, call us for a look. Free estimates in Summerlin: (866) 623-9848.
Anything affecting safety reverse, footing stability, or fasteners holding a gate overhead or overhead-adjacent is urgent. Cosmetic finish and lubrication can wait for the next scheduled service. When in doubt, call and describe it; we’ll tell you what to do. (866) 623-9848.
The Bottom Line
A new gate’s first 180 days set the tone for the next 20 years. Inspect at 30, 90, and 180 days, log a full baseline, get a proper handoff folder, and then settle into twice-yearly service timed to Summerlin’s seasons. Know which items in the schedule are professional-only, and don’t wait for a failure to learn them. Do the break-in checks, and the gate rewards you with a long, quiet life. Skip them, and the settling becomes the problem. Ironworks Gate Co. is here for every stage, from installation through the break-in window and beyond, and stands behind the work with a written 90-Day Done Right Promise.
Ready to put this schedule to work on your gate? Call (866) 623-9848 for a free estimate in Summerlin. A live person answers every call, 24 hours a day, 7 days a week.
Written by the team at Ironworks Gate Co. Summerlin.