
Last updated November 17, 2026
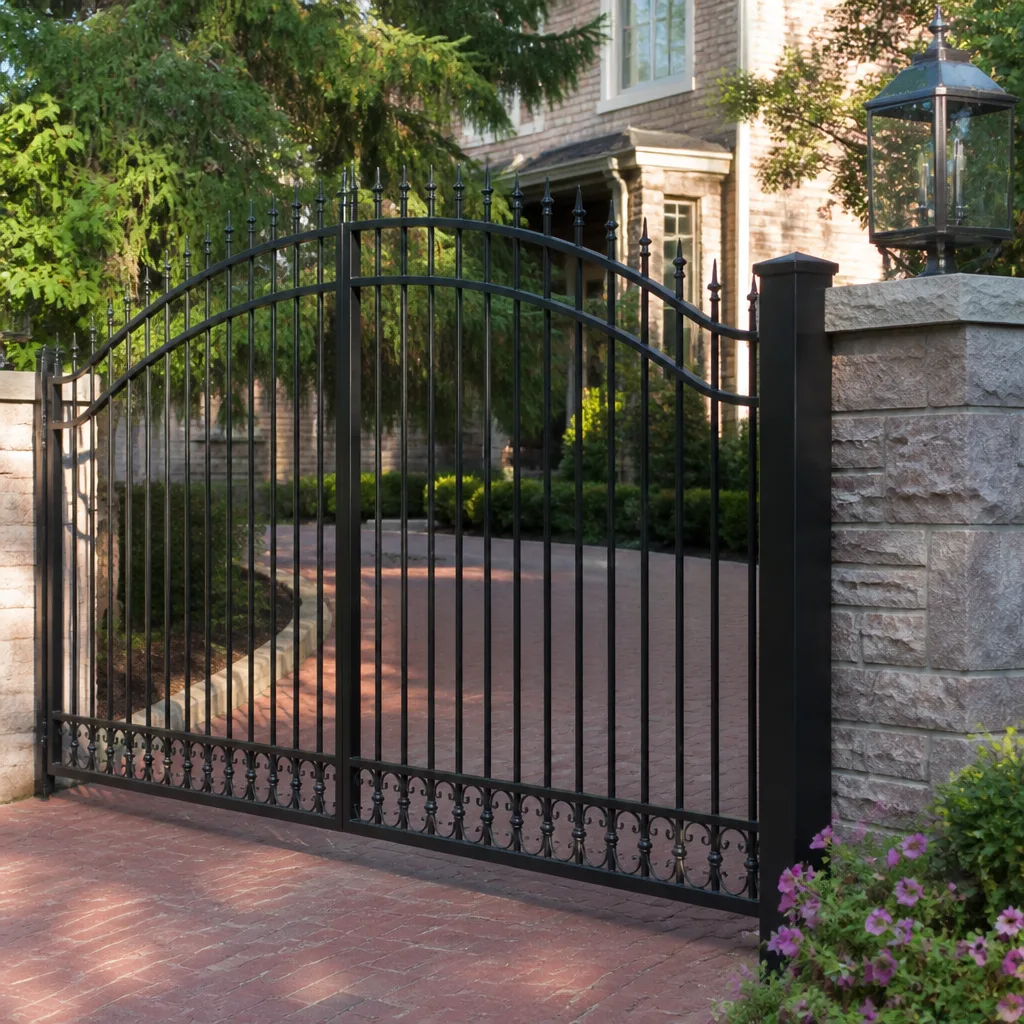 Wrought iron
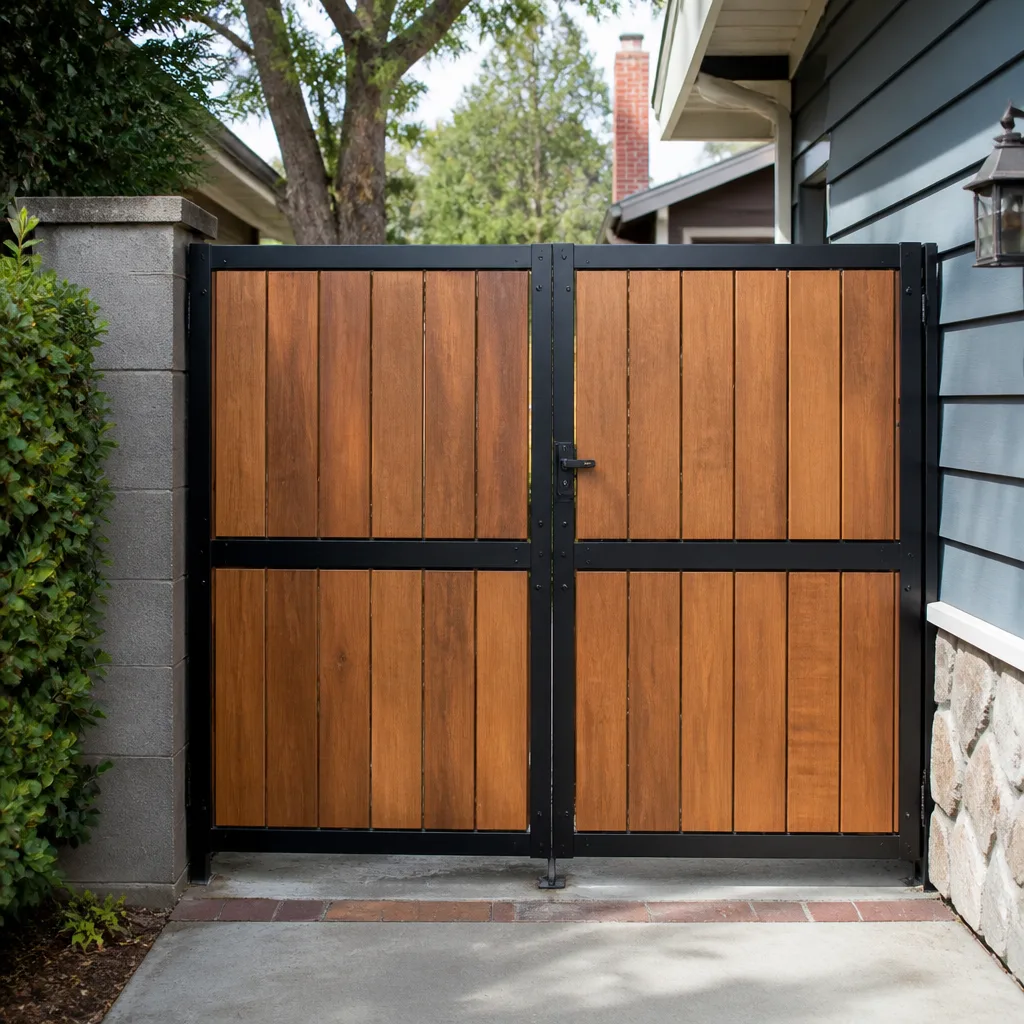 Wood & steel frame
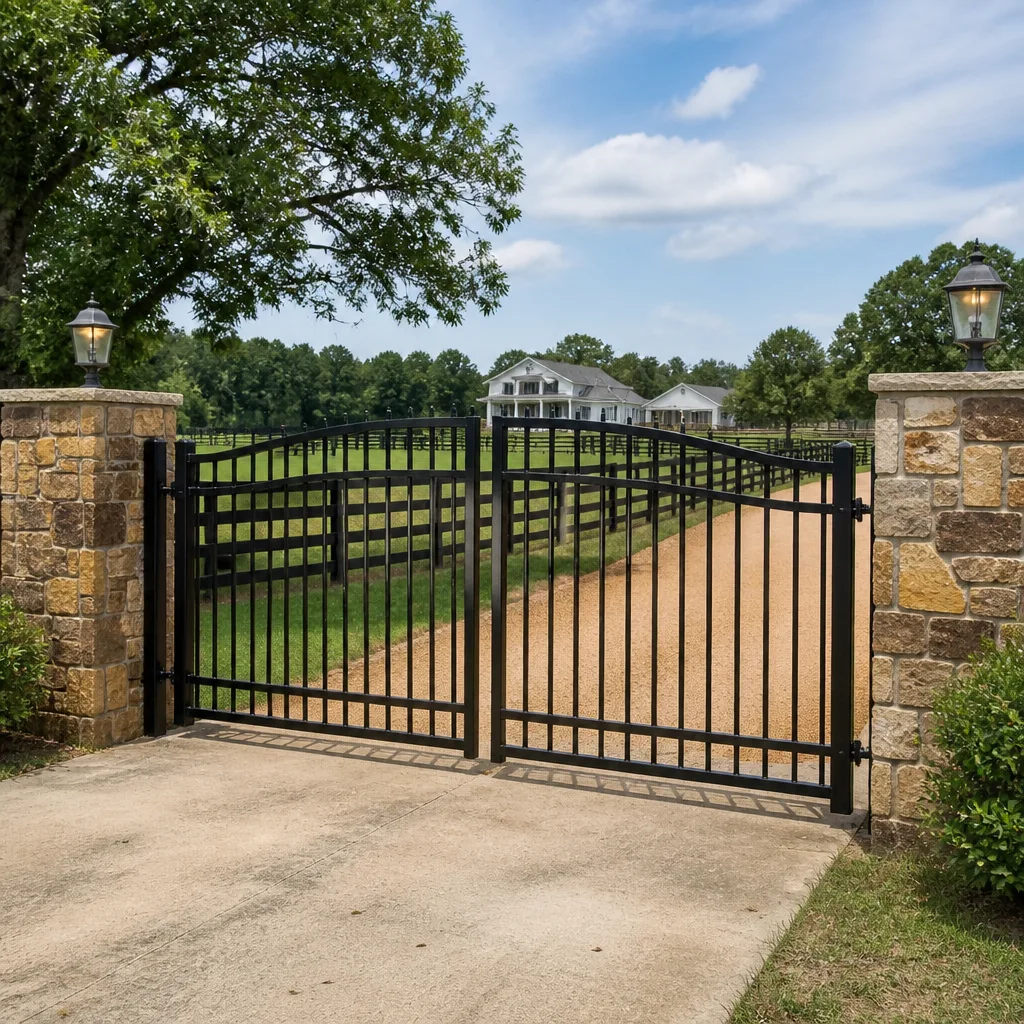 Farm & ranch
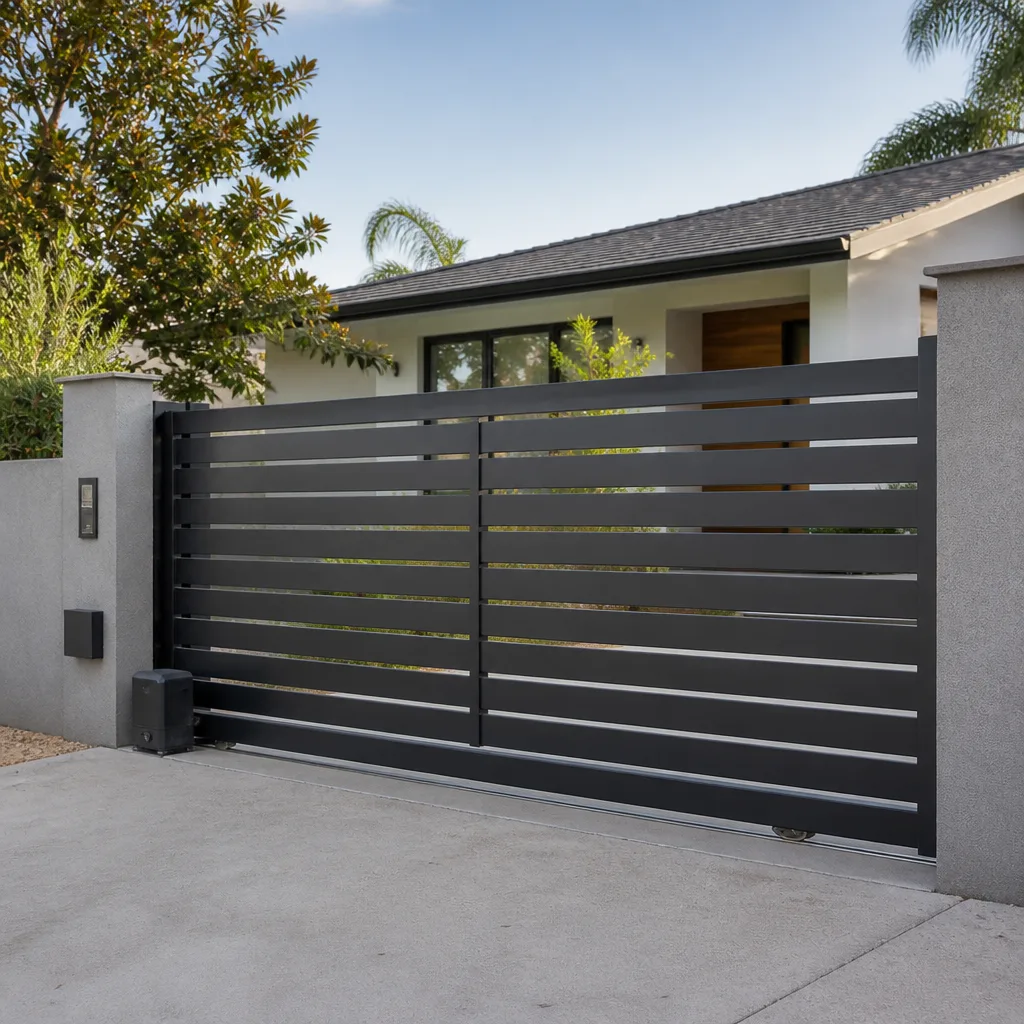 Sliding driveway gates
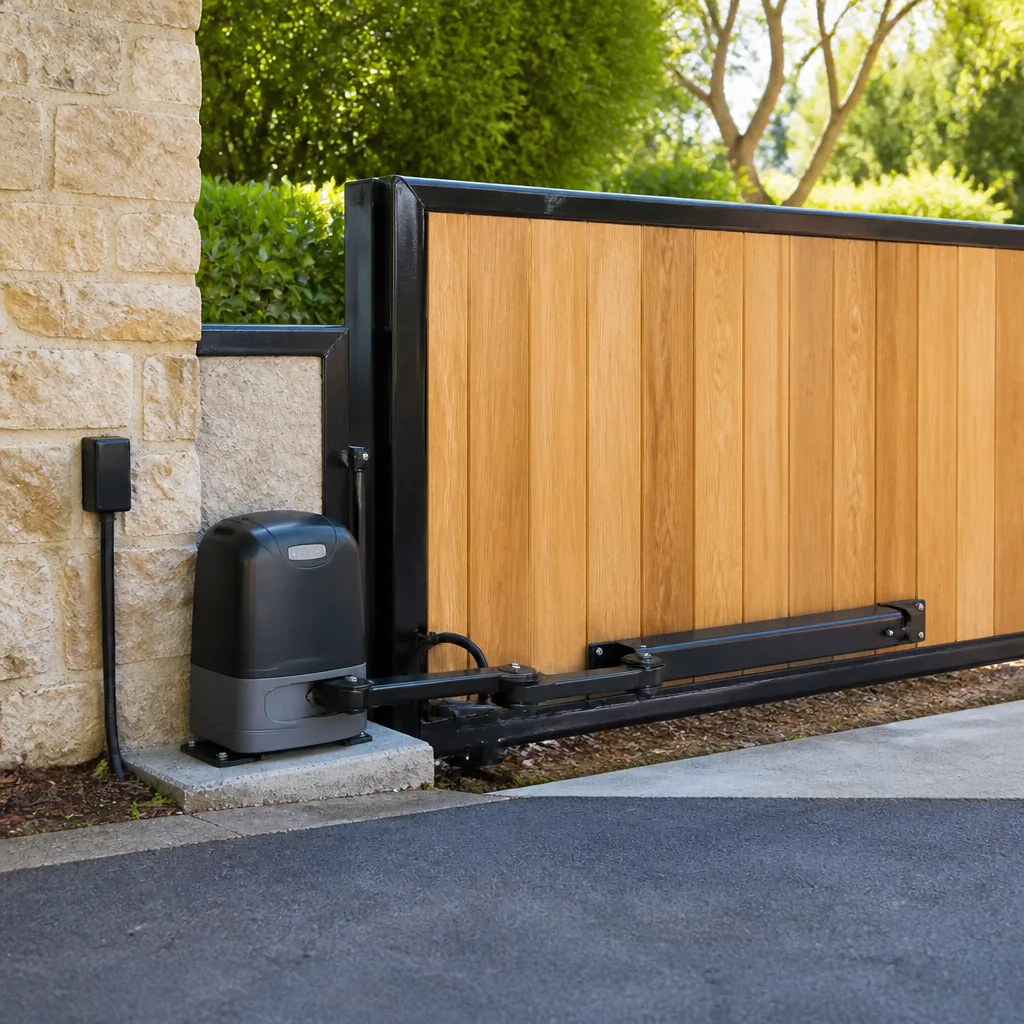 LiftMaster operators
Free on-site gate assessment - hinges, posts, and your LiftMaster or Nice gate operator checked before anything is quoted
The assessment is free and the quote is the invoice.
Get your free estimateGate Motor & Opener Troubleshooting: Common Problems and How to Fix Them
A gate that stops halfway and reverses isn’t necessarily broken. Most of the time it’s doing exactly what it was programmed to do, and the trigger is a dirty or misaligned safety beam, not a failing motor. That single fact saves homeowners hundreds of dollars a year, because the same symptom can mean five different things, and guessing wrong means replacing a $400 control board when the real fix was a $12 sensor adjustment. In this guide we walk the actual diagnostic logic, the safe tests you can run yourself, the error codes that matter on brands like Linear and Viking, and the Summerlin-specific causes we see most: desert dust on photo eyes, thermal cutouts in July heat, and HVAC load on the same circuit.
Quick Answer
Most gate motor and opener problems trace to a small set of causes: a blocked or dirty safety sensor, a dead battery in the remote or keypad, a tripped thermal overload, or a limit switch that has drifted. Any gate that moves then reverses, or opens but won’t close, should have its photo eyes and safety loop tested before anyone touches the motor or control board. Only the issues that involve gate tension, motor wiring, or board replacement need a professional, and those are exactly the jobs we handle in Summerlin.
Styles & brands we work with
- Wrought iron
- Wood & steel frame
- Farm & ranch
- Sliding driveway gates
- LiftMaster operators
Table of Contents
- The symptom-to-cause decision tree
- Gate won’t move at all
- Gate moves then stops, or reverses mid-travel
- Gate opens but won’t close
- Responds to the hardwired button but not the remote
- How to test safety loops, photo eyes, and obstruction sensors
- What the error code lights actually mean
- Summerlin-specific causes: dust, heat, and shared circuits
- What’s owner-fixable and what needs a professional
The Symptom-to-Cause Decision Tree
Before you pick up a phone or a wrench, classify the symptom. Every gate failure in Summerlin we’ve rolled up to falls into one of a handful of behavior patterns, and each pattern points to a narrow set of causes. Walking this logic in order saves you from the most expensive mistake in gate repair: replacing parts that were never broken.
Ask yourself these questions in sequence:
- Does the gate move at all when you press the button? If no, the problem is power, control, or a hard limit. If yes, move to the next question.
- Does it stop or reverse partway through travel? That points to a safety input (photo eye, loop, edge) or a current-sensing obstruction trip.
- Does it open but refuse to close? That’s almost always a safety device holding the close cycle off, or a mis-set limit.
- Does the keypad, remote, and hardwired button all behave the same way? If the hardwired button works but the remote doesn’t, the fault is in the receiver, the remote battery, or the pairing, not the motor.
- Did the problem appear after a power cut, a storm, or a stretch of 110-degree days? Each of those leaves a different fingerprint.
Working through these four or five questions takes two minutes and narrows the fault to a single category. From there, the sections below answer each one in turn. This is the same first pass our technicians run on a gate repair in Summerlin call, and it’s why most jobs get diagnosed correctly on the first visit rather than the third.
Gate Won’t Move at All
A completely dead gate is almost never a dead motor. Motors fail gradually, not overnight. When a gate goes from working yesterday to doing nothing today, the cause is nearly always upstream: power, control, a safety lockout, or a limit switch that has tripped and told the board to stay put.
Check these in order before assuming the motor:
- Power at the operator. Is the breaker on? Is there a dedicated circuit, or is the gate sharing one with a pool pump or outdoor lighting? A tripped breaker is the single most common “dead gate” cause in Summerlin, and it costs nothing to check.
- The control board’s status light. A board that shows no light at all isn’t getting power. A board with a light but no response is in a fault state or a lockout, which the next section covers.
- The manual release. Every opener has a manual release key or lever. If the gate swings freely by hand once released but the motor won’t drive it, the fault is electrical or in the board, not mechanical.
- The limit switches. If a limit has drifted past its set point, the board may read the gate as “already open” or “already closed” and refuse to move. This happens more in summer when thermal expansion nudges the mechanics.
- The safety input. A stuck-closed safety edge or a loop that never clears will hold the gate in a permanent lockout with no movement at all.
If the board shows no power and the breaker is fine, stop there. That’s a wiring or transformer issue and belongs with a professional, not a homeowner on a ladder with a multimeter.
Gate Moves Then Stops, or Reverses Mid-Travel
This is the classic “it’s broken” call, and it’s usually the gate doing its job. A gate that moves a few feet and then reverses is reacting to a safety input or a current-sense trip. The board reads an obstruction, or thinks it does, and backs the gate off to avoid crushing something. The trigger is usually a dirty or misaligned photo eye, not a motor fault.
The usual suspects, in order of likelihood:
- Dirty photo eyes. Desert dust coats the lens on the transmitter or receiver and the beam weakens until the board sees it as blocked. This is the number one cause in Summerlin from May through September. Wipe both lenses with a soft dry cloth and test again before anything else.
- Misaligned photo eyes. A nudge from a trash can, a landscaper’s string trimmer, or settling ground can knock a photo eye off its target. If the receiver’s alignment light is flickering or off, that’s your fault.
- Obstruction from debris. A rock, a palm frond, or a build-up of gravel in the track will trip the current sensor partway through travel. Clear the track and sweep the run.
- A weak battery under load. On battery-backup operators, a failing battery will drive the gate a short distance then sag and reverse. If the gate behaves normally on mains power but reverses on battery, the battery is the cause.
- Thermal cutout. In peak summer heat, a motor that’s been cycling repeatedly will trip its thermal overload and stop. Let it cool for 30 to 45 minutes and try again; if it runs normally after cooling, that’s the diagnosis.
Work down the list. Nine times out of ten the gate works again by item two, and you’ve saved yourself the cost of a service call.
Gate Opens but Won’t Close
A gate that opens fine but refuses to close is a safety device doing exactly what it was built to do. The board is being told, by one of its safety inputs, that something is in the way. The gate won’t close because it can’t confirm the path is clear.
Test these in sequence:
- Walk the full swing or slide path by hand with the gate in manual release. Anything in the path, from a fallen branch to a parked car nudging the loop, will hold the gate open.
- Check the photo eyes again. A receiver whose alignment light is off, flickering, or amber instead of solid green is telling the board “obstruction” and blocking the close cycle.
- Look at the safety edge. On gates with a reversing edge on the leading edge, a damaged or disconnected edge will fail safe and keep the gate from closing.
- Check the loop detector. On a slide gate with an exit loop or a shadow loop, a loop that’s failed or been cut by root growth or settling will hold the close cycle off. A loop detector showing a permanent “detect” state is your fault.
- Check the close limit. If the close limit has drifted, the board may think the gate is already closed.
If every safety input checks out and the gate still won’t close, the fault is in the board’s safety logic or the wiring between the sensors and the operator. That’s a professional call, and it’s the kind of work we do every week in Summerlin with gate motor and opener service.
Responds to the Hardwired Button but Not the Remote
If the gate opens from the hardwired wall button or keypad but ignores the remote, the motor and board are fine. The fault is in the receiver, the remote, or the pairing. This is the cheapest and easiest category to fix, and it’s almost never a service call.
The usual causes, quickest first:
- Dead remote battery. Replace the coin cell, usually a CR2032 or CR2016, and try again. This resolves the majority of “remote stopped working” calls.
- Remote lost its pairing. A power cut or a new battery can drop a remote’s memory on some models. Re-pair it according to the brand’s instructions, which on Linear and Viking models is a short button-hold sequence on the receiver.
- Receiver interference. A new Wi-Fi access point, a smart meter, or a nearby radio source can drown out the remote’s frequency. If the remote works close to the gate but not from the driveway, interference is likely.
- A failed receiver. If a known-good remote won’t pair at all and the wall button still works, the receiver module has failed. On most brands, the receiver is a plug-in module and a simple replacement.
- Antenna damage. A bent, disconnected, or corroded antenna wire on the operator will shorten the remote’s range to almost nothing.
Working through battery, pairing, and interference resolves most remote problems in under ten minutes. If it doesn’t, the receiver is the next suspect.
How to Test Safety Loops, Photo Eyes, and Obstruction Sensors Safely
Before you blame the motor or the board, test the safety devices. These tests need no tools beyond your hands and eyes, and they eliminate the most common causes of phantom gate faults. On any gate, test with the gate in manual release and the operator powered down whenever you’re reaching into the travel path.
The photo eye test:
- Locate the pair of photo eyes, one on each side of the opening, mounted roughly knee-height on the posts.
- Look at the receiver’s indicator light. Solid usually means aligned and clear. Off, flickering, or red where it should be green means blocked or misaligned.
- Wipe both lenses with a dry, soft cloth. Desert dust is the most common culprit, and it takes ten seconds to rule out.
- Walk between the eyes to break the beam. The receiver light should change state, and a gate in motion should reverse. If the light never changes, the beam is dead, blocked, or the eyes are misaligned.
- Re-aim the eyes by loosening the mounting screws and turning the housing until the receiver light is solid and bright, then tighten. If the light won’t go solid with a clean lens, the eye itself has failed.
The loop detector test is simpler. On a slide gate with an exit or shadow loop, the detector’s LED should be off when the loop is clear and on when a car is over it. A loop that reads “detect” permanently, with nothing on it, means the loop or the detector has failed. Loop repairs mean cutting and re-splicing the wire in the driveway, which is professional work.
The safety edge test on gates with a reversing edge is a simple press test: squeeze the edge by hand and listen for the relay click, or watch for the board’s LED to change. No click and no change means the edge or its wiring has failed. Never test a safety edge by driving the gate into an object; that’s how people get hurt.
What the Error Code Lights Actually Mean
Error codes on gate operator boards look like a secret language, but most of them mean a short list of things. Here’s a plain-language read on the flash codes and status LEDs on the brands we service, and a clear line on which ones a homeowner can clear and which ones mean call the pro.
Here’s how to read the board’s diagnostic lights, brand by brand:
- Linear. A board in fault usually flashes the “power” or “limit” LED in a pattern. A repeating 3-flash pattern is typically a safety-input fault: check the photo eyes and any connected edge first. A steady fault with no flash is usually a limit issue.
- Viking. A rapidly blinking “run” or “status” LED on a Viking board during a cycle most often points to a current-sense trip: the gate is binding, or the operator is straining against something in the path.
- Ghost Controls. These boards read out with a simple LED flash count, and the common ones tie to safety-device faults and limit-switch state. A “no flash, no response” board almost always means no power at the operator.
- DoorKing. A DoorKing board’s LED readout is more granular and often requires the manual to translate. A fault that won’t clear after a power cycle belongs with a technician who services these systems regularly.
Which codes mean owner-fixable in ten minutes? Ones that trace to a dirty photo eye, a manual release lever, a limit switch nudged out of place, or a power cycle. Which codes mean call the pro? Any code that persists after a clean, aligned photo eye and a full power cycle, any code the manual ties to motor current or board fault, and any DoorKing code you can’t decode from the manual. When in doubt, stop and take a photo of the board with the light pattern visible. That single photo will shorten a service call.
Summerlin-Specific Causes: Dust, Heat, and Shared Circuits
Gate motors in Summerlin fail for reasons that have less to do with the motor and more to do with the desert. The valley’s dust, the peak summer heat, and the way homes are wired all show up in the fault histories we read. Three causes dominate.
Dust on optical sensors. From May through September, wind-blown dust and construction dust from nearby building phases settle on photo eye lenses and mimic a blocked beam. A dry cloth on both lenses every two weeks is the cheapest gate maintenance there is. If you’re bordering a new build in Summerlin, wipe them every week through the build season.
Thermal cutout in peak heat. A motor that’s cycled repeatedly through a hot afternoon will trip its thermal overload. A gate that stops on the third or fourth cycle on a 110-degree day and runs fine the next morning has a thermal trip, not a motor fault. Routine lubrication on the gate’s hinges and rollers cuts the load on the motor and reduces tripping.
Power fluctuations from shared load. Outdoor gate operators are often on a circuit shared with a pool pump, outdoor lighting, or HVAC equipment. A sudden voltage sag from the HVAC kicking on can brown out the operator and drop it into a fault. If the gate fails at the same time every afternoon, that’s a shared-circuit issue, and it’s solved by moving the operator to a dedicated circuit. If your gate is on a circuit that shares with the A/C and it’s failing every afternoon, that’s a real diagnostic finding rather than a random fault.
The solution is straightforward. A seasonal tune-up on the gate and operator, a dedicated circuit, and a routine wipe of the photo eyes prevent most of the failures we repair in Summerlin. If you’re planning a gate installation in Summerlin, ask that the operator be wired to a dedicated circuit from the start. It’s the single best choice to prevent years of phantom faults.
What’s Owner-Fixable and What Needs a Professional
Drawing this line clearly keeps you safe and keeps your wallet intact. Some gate faults are ten-minute fixes any homeowner can handle. Others touch high-voltage wiring, high-tension springs, or the gate’s structural integrity, and those belong to a professional every time. The line isn’t about your competence; it’s about the danger.
Owner-fixable in ten minutes:
- Wiping and re-aiming photo eyes.
- Replacing the remote’s battery and re-pairing the remote.
- Clearing debris from the gate’s travel path.
- Releasing the gate and testing it by hand to isolate a mechanical vs. electrical fault.
- Resetting the operator after a power cut.
- Clearing a tripped breaker and confirming nothing else is on the circuit.
Needs a professional:
- Any work on the operator’s internal wiring or the board itself.
- Replacing a control board, motor, or capacitor.
- Adjusting gate tension or replacing gate springs or counterbalance springs.
- Loop detector repair or replacement, which means cutting and re-splicing the loop in the driveway.
- Any fault that persists after a clean photo eye, a fresh battery, and a full power cycle.
High-tension springs and gate operators store real energy, and a mistake there can cause serious injury. We say this plainly because we’ve seen what happens when someone tries to save a service call on a spring. If the fault falls on the professional side, that’s the call to make.
Common Mistakes to Avoid
- Replacing the control board before testing the sensors. In our experience, more than half the boards we’re called out to replace are fine, and the real fault was a $12 photo eye adjustment. Test the safety devices first.
- Spraying WD-40 into the operator. Lubricating the internal mechanics just collects desert dust and makes the fault worse. Lubricate the gate’s hinges and rollers, not the operator housing.
- Increasing the operator’s force setting to fix a reversing gate. Turning up the force overrides the safety limit and risks crushing someone in the gate’s path. Force settings compensate for nothing; they hide the fault.
- Testing a safety edge by driving the gate into a car or a person. Never test an obstruction sensor by force. Press the edge by hand and watch for the relay click or the board LED change.
- Assuming a dead gate is a dead motor. A dead gate is almost always a tripped breaker, a limit switch, or a safety lockout. The motor is the last thing to suspect, not the first.
- Ignoring the shared-circuit issue. If the gate fails at the same time every afternoon in Summerlin, and your A/C runs on that circuit, the fix is a dedicated circuit, not a new motor.
- Patching a loop repair instead of replacing it. A driveway loop that’s been cut and spliced will fail again within a season in desert soil. A full replacement is the durable fix.
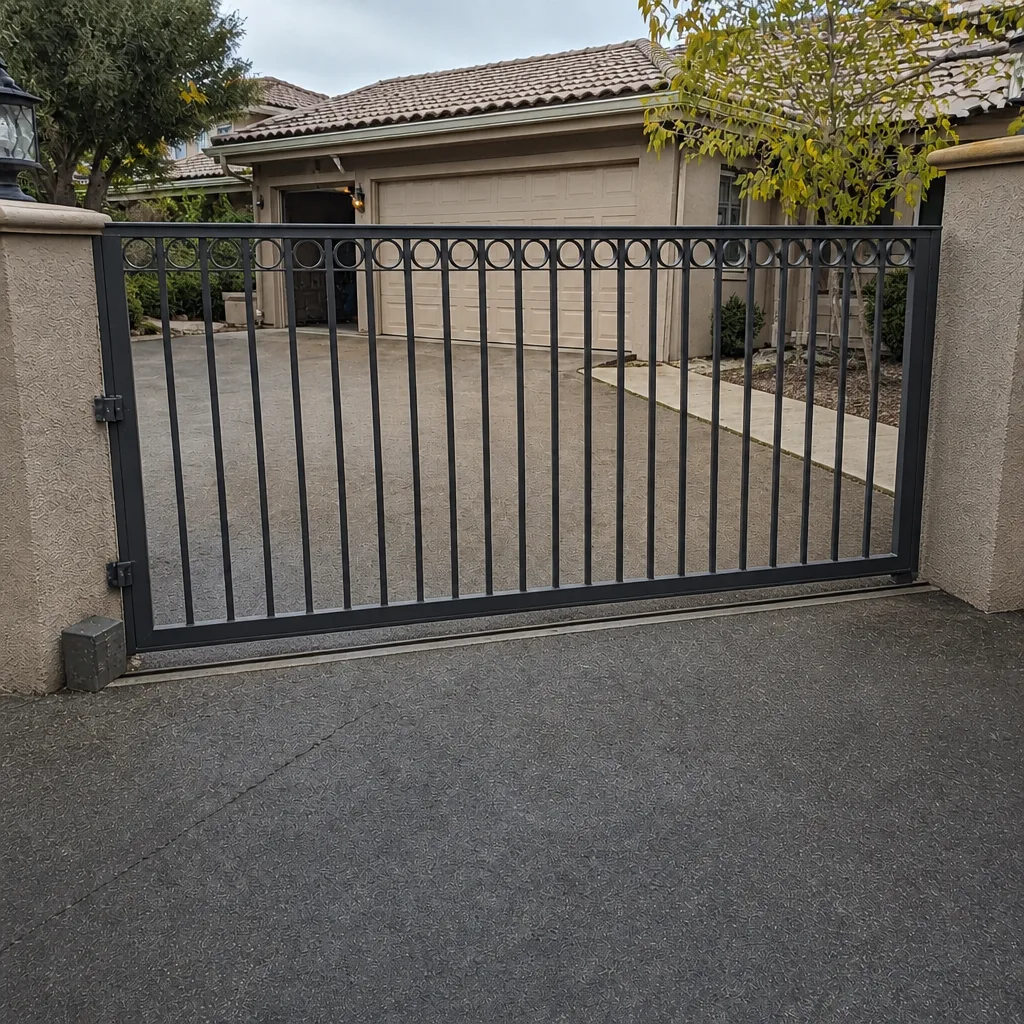
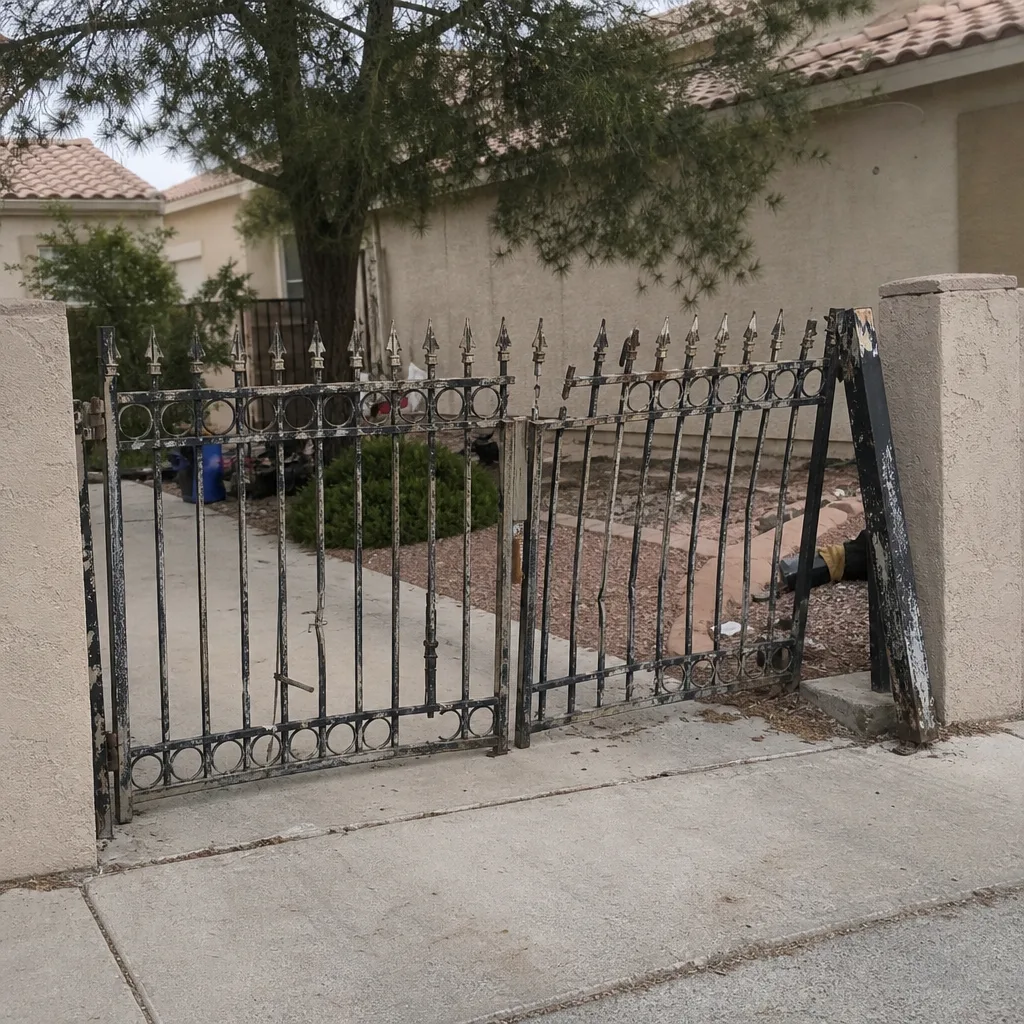
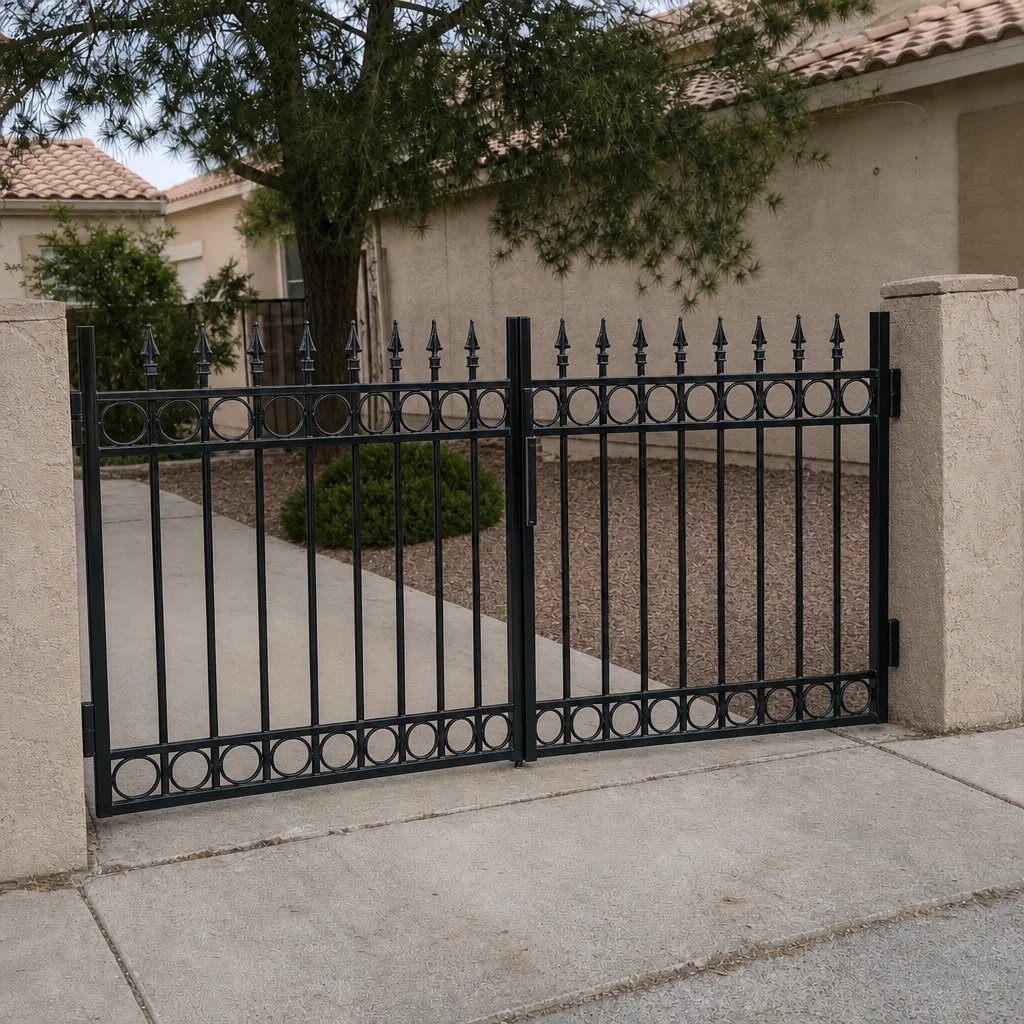
See the difference
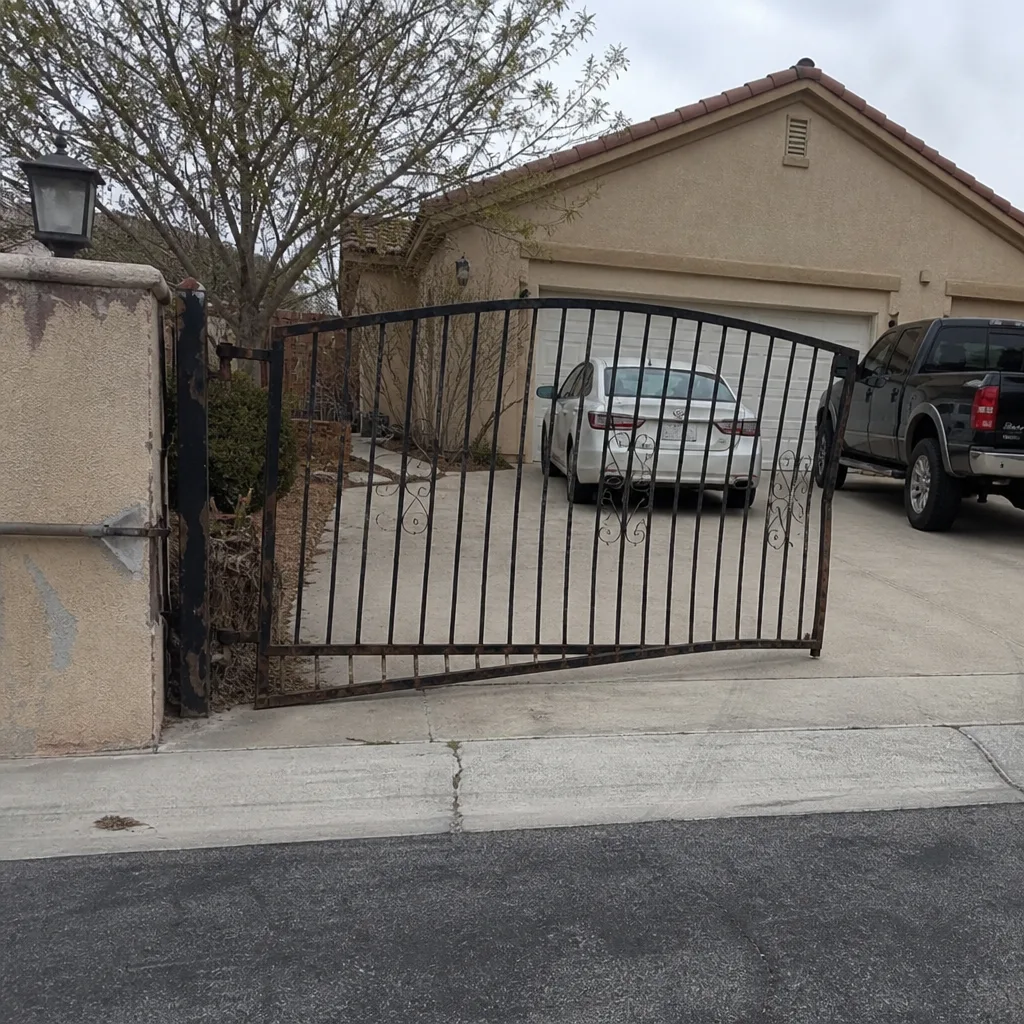 Before
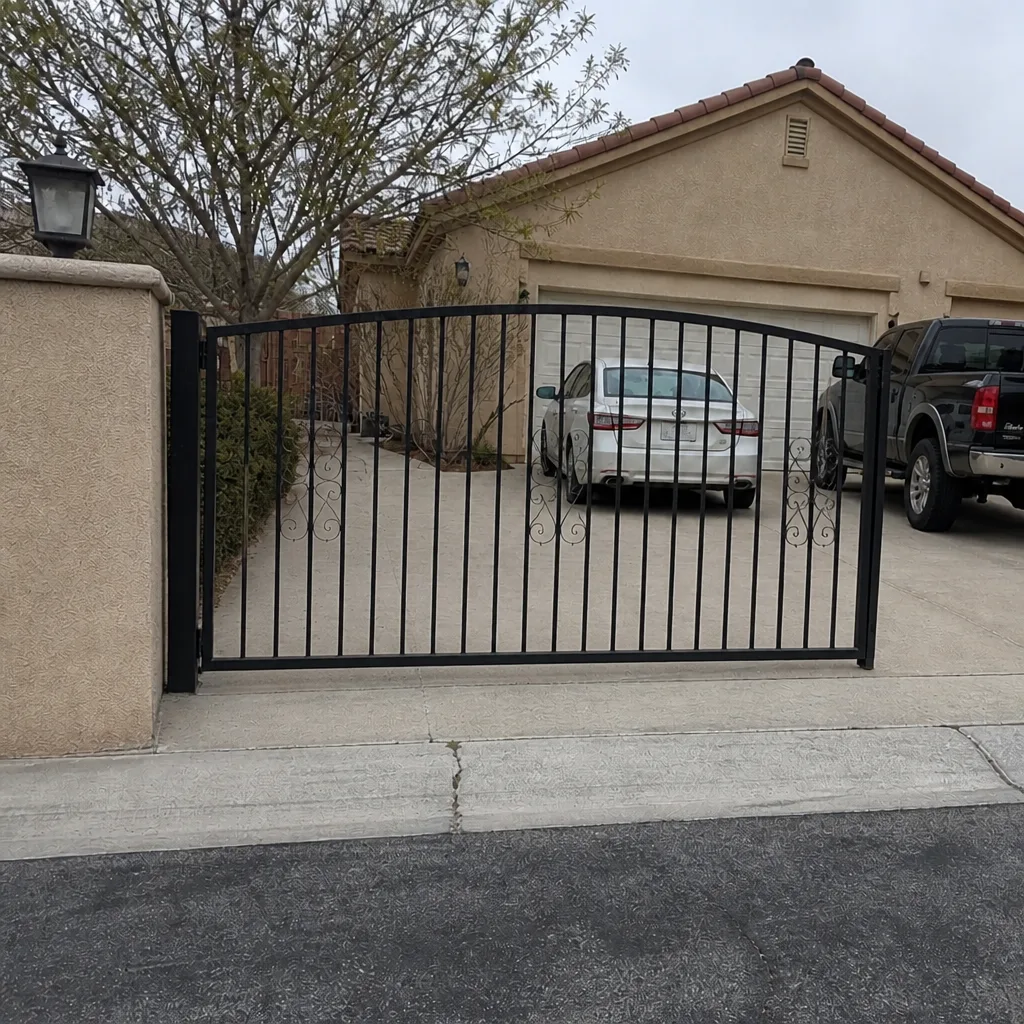 After
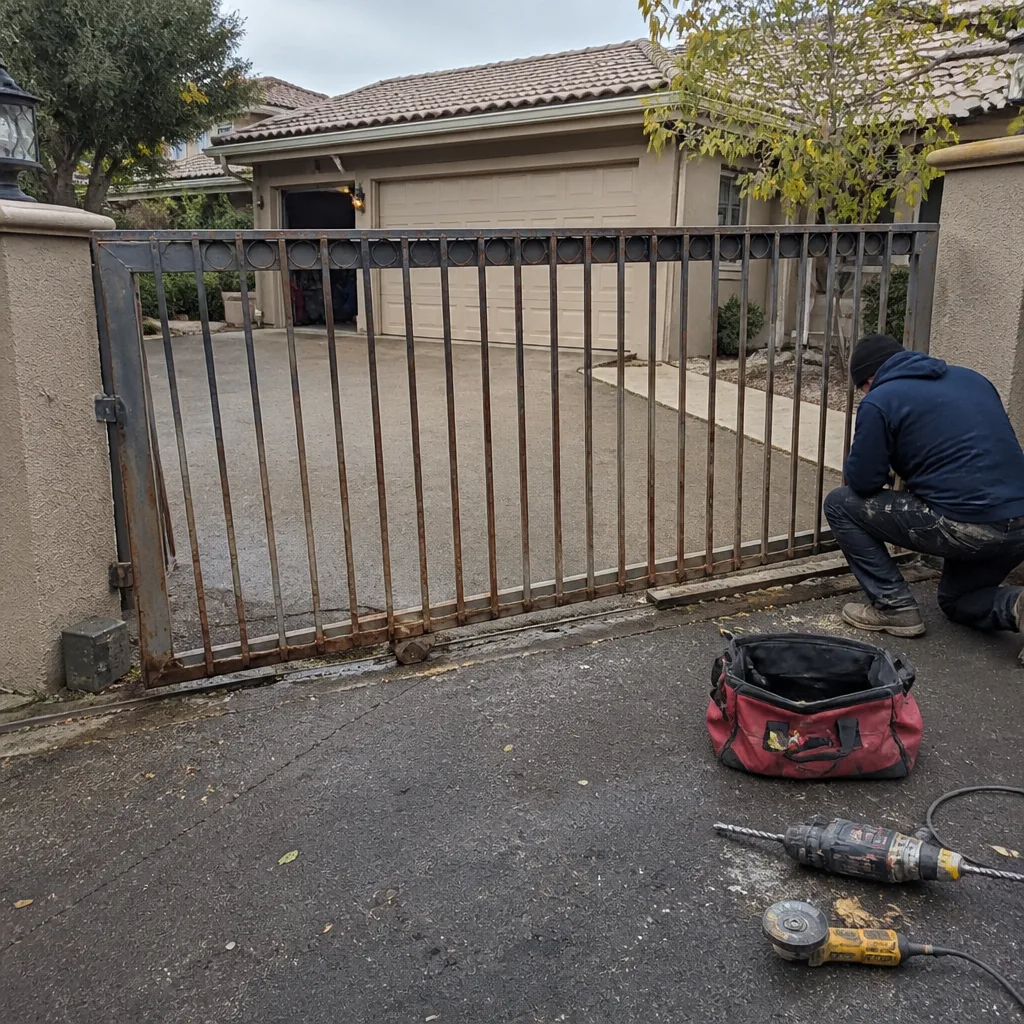 Before
 After
 Before
 After
When to Call a Professional
Call a professional the moment a fault touches the operator’s internal wiring, the gate’s springs or tension, or the control board. Call us earlier if the gate is your only vehicle access, if the fault has appeared after a storm or a power cut, or if you’ve already tried the safe tests and the fault remains. A stuck gate on a Summerlin property isn’t just an inconvenience; it can hold a car in the driveway and leave a home less secure overnight. Ironworks Gate Co. Summerlin offers free estimates in Summerlin, and our technicians have up to 13 years of experience on nine gate-automation brands. Call (866) 623-9848, and a live person will answer and get you scheduled. Every completed job is backed by our written 90-Day Done Right Promise, with the price settled up front before any work begins.
Frequently Asked Questions
Your gate is almost certainly reacting to a safety input, not failing. The most common cause is a dirty or misaligned photo eye that the board reads as an obstruction, and the second most common is a current-sense trip from a binding track or debris in the path. Wipe and check alignment on the photo eyes first, clear the track, then retry. If the reversing continues after both, call (866) 623-9848 for a free estimate.
Gate motor repair in Summerlin typically runs $180 to $450 depending on the fault and the part, with control board replacements at the higher end and sensor or limit adjustments at the lower end. You’ll get a written price before we start, and there are no surprises on the bill. We also offer $50 off any repair over $250. Call (866) 623-9848 for an exact quote, free of charge.
The blinking lights are a fault code, and the meaning depends on the brand. On a Linear board, a repeating 3-flash pattern usually points to a safety-input fault; on a Viking board, a fast flash during a cycle usually means a current-sense trip; on a Ghost Controls board, the flash count ties to safety devices and limits. Any code that persists after a clean photo eye and a full power cycle means a service call. Call (866) 623-9848 and we’ll decode it in person.
You can safely handle the ten-minute fixes: wiping and re-aiming photo eyes, replacing a remote battery and re-pairing the remote, clearing debris, and resetting the operator after a power cut. Anything that touches the operator’s internal wiring, the board, the motor, or the gate’s springs or tension needs a trained technician, because those carry real injury risk. When the fault sits on the professional side, call (866) 623-9848 for a free estimate.
A gate that fails predictably at the same time each day is usually sharing a circuit with HVAC or pool equipment, and the afternoon voltage sag browns out the operator. The other common summer cause is thermal cutout after several hot cycles. Moving the operator to a dedicated circuit and scheduling a seasonal tune-up solves most of these. Call (866) 623-9848 and we’ll trace the circuit and confirm the cause.
Once a year is the right cadence in Summerlin, and we recommend spring, before the worst of the heat and dust. A seasonal tune-up includes lubricating the gate’s hinges and rollers, checking the photo eyes and safety devices, testing the limits, and confirming the operator’s force settings are safe. Our $89 Seasonal Tune-Up covers this, and it prevents most of the phantom faults we repair. Call (866) 623-9848 to schedule.
The Bottom Line
Gate motor and opener faults look mysterious but follow a short diagnostic chain. Classify the symptom first: won’t move at all, moves then stops or reverses, opens but won’t close, or responds to the hardwired button but not the remote. Test the safety devices before you suspect the motor, because the safety inputs cause most of the faults we repair. In Summerlin, add dust on the photo eyes, thermal cutout in peak heat, and shared circuits with the HVAC to your list of usual suspects, and wipe those lenses every two weeks. Keep the ten-minute fixes to yourself, hand the wiring, springs, and board work to a professional, and call (866) 623-9848 for a free estimate on anything that falls on the professional side. Ironworks Gate Co. Summerlin stands behind every job with the written 90-Day Done Right Promise, and we’ll be here when the gate needs us. For the full scope of what we handle, start at Ironworks Gate Co. Summerlin home.
Written by the team at Ironworks Gate Co. Summerlin.